 |
|||
How to Copy an iDVD or any DVD |
|||
|
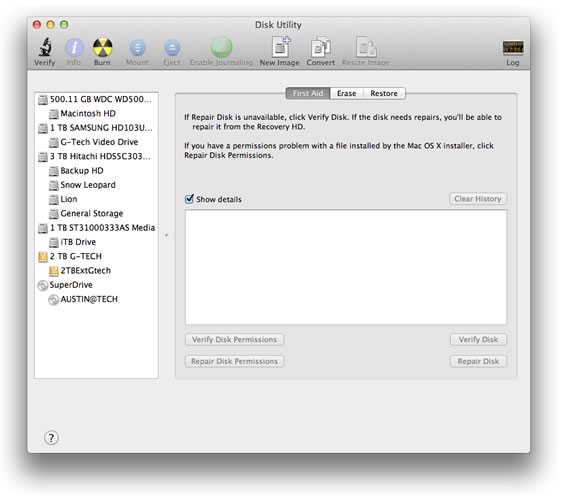
Copying an iDVD created DVD or any unencrypted DVD is fairly easy. You just need to use the Disk Utility which is found in your Utilites folder that is inside your Applications folder.
1. Double click on the Disk Utility. This should bring up the main screen of the Disk Utility.
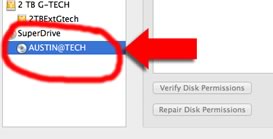
2. You will see a list of drive that are connected to your computer. Look for one called "SuperDrive". Select the DVD you want to copy by clicking on it once in the Disk Utility.
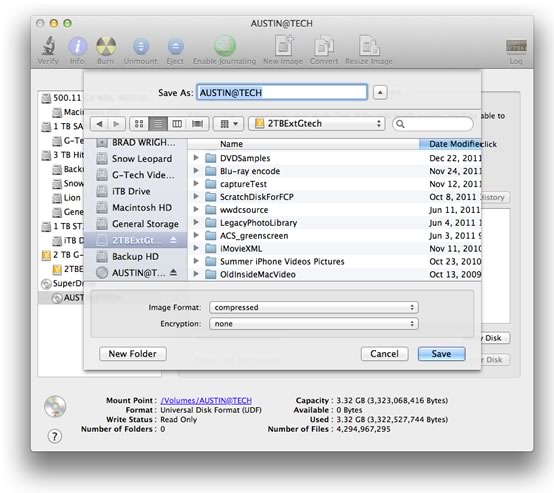
3. Select the File Menu->New->Disk Image option. There should be a "Disk Image from" menu with the name of the DVD you want to copy.
4. The Disk Utility will ask you to save this image somewhere on your hard drive.
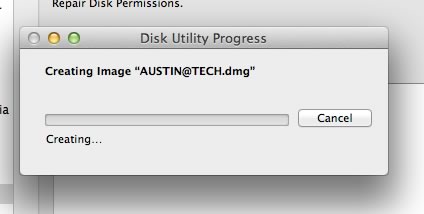
5. The Disk Utility will begin copying the new disk image to your hard drive.
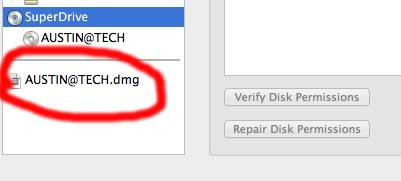
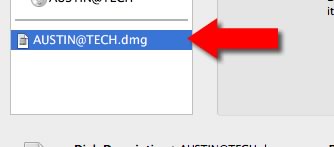
6. After the Disk Utility has finished, a new disk image will appear in the Disk Utility.
7. Eject the DVD. Select the new disk image in the Disk Utility.
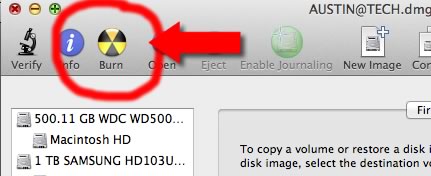
8. Click the burn button in the Disk Utility.
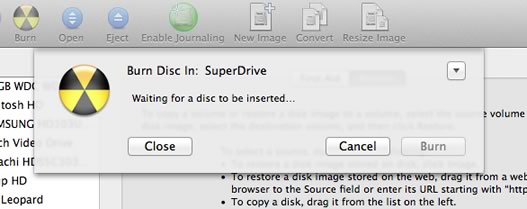
9. The Disk Utility will ask you to insert a Blank DVD. Insert a new un-recorded DVD-R into your computer.
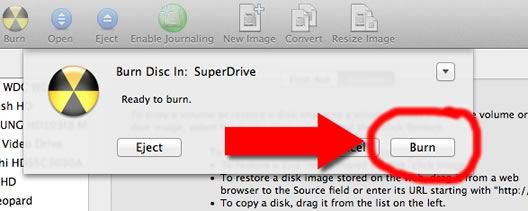
10. Once the DVD is loaded the "Burn" button will become available. Click the "Burn" button to start writing to the new DVD. Click "Cancel" if you don't want to create the DVD at this time.
11. After you click the "Burn" button, the Disk Utility will start copying the DVD. When it's finished you will have exact image of the DVD. You can create as many copies as you need with this disk image by following steps 6 through 10. |
|||